The holiday travels can be a source of anxiety for folks who experience bladder control issues. Long travels, flights, airports, being in places where you don’t know the location of the bathrooms, can indeed make things stressful.
Here are a few tips to go through the holiday travels with a bladder at peace!
#1 – Avoid bladder irritants before and during your travel time
Coffee, tea, alcohol, carbonated drinks, acidic, spicy & sugary food can all be triggers for those who experience bladder urgency & incontinence. Avoiding them the day before and during your travel time may just be what you need to keep yourself out of trouble.
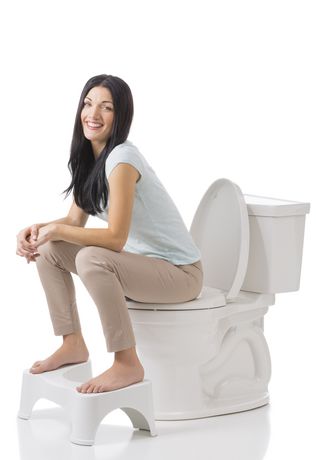
#2 – Keep the bowels moving
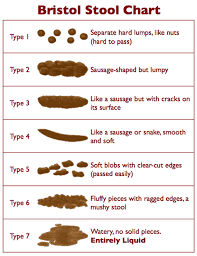
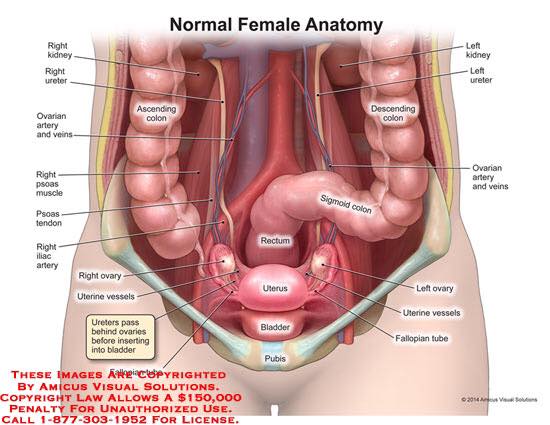
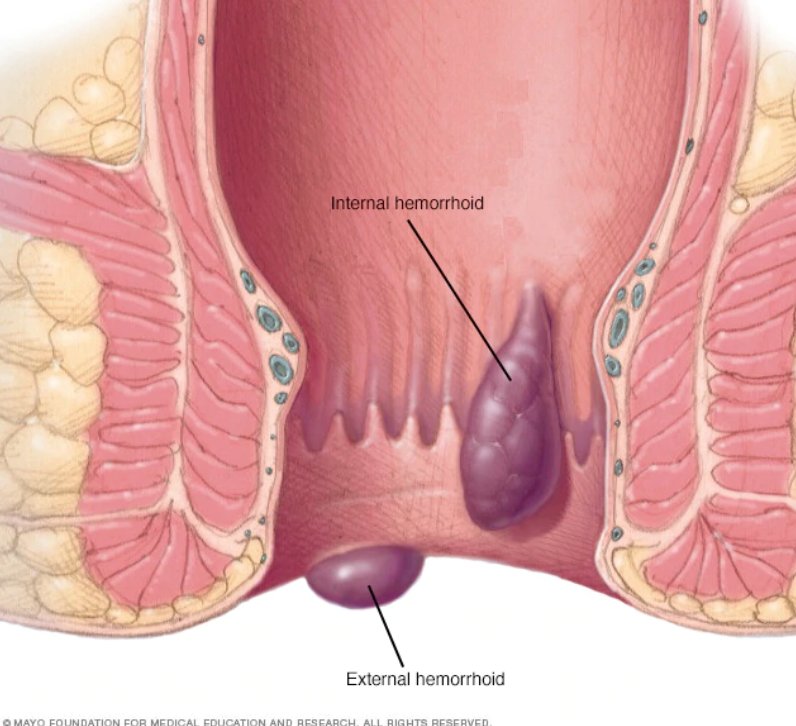
I know this can be a challenge when you are away from home and you eat things that you don’t normally eat, drink more alcohol than usual, perhaps eat less fruits and veggies than what you are used to. But remind yourself that constipation is one of the #1 causes of pelvic disorders. When your rectum is full, it can press on your bladder and cause urinary urgency and incontinence. Straining on the toilet can also worsen a prolapse, so you really want to keep things moving while you are away and don’t let it go too long.
One good way to manage it is to carry dried fruits with you so you get your fibre intake, as well as a water bottle to keep those fibres wet & moving along the intestinal track. Fibre supplement caps such as Metamucil can also be a good way to get your fibre intake without carrying too much food on you. However, be aware that increasing your fibre intake without increasing your water intake at the same time can actually make your constipation worse by bulking your stool too much! So make sure that both water & fibre intake go hand in hand!
If you have not had a bowel movement for more than 2 days, try my intestinal massage to get things started.
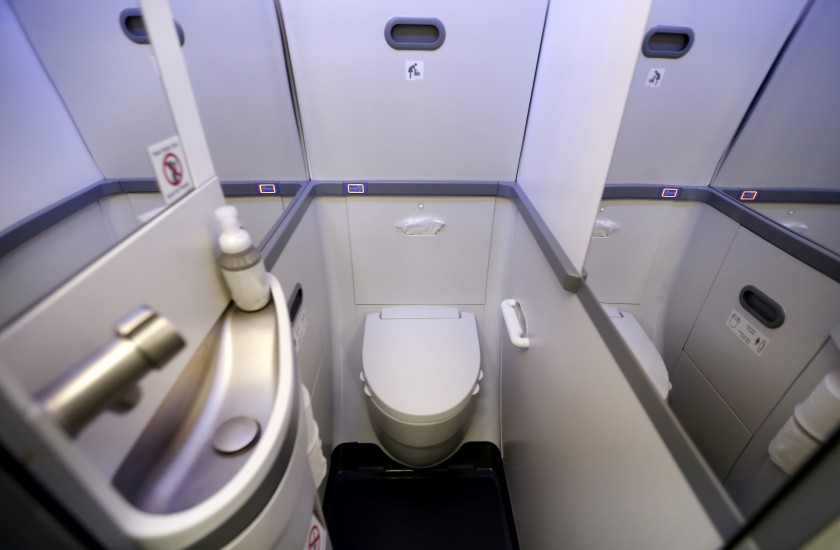
#3 Select an aisle seat if possible
There is no point in stressing yourself out while travelling on the plane by having a window seat and not being able to access the bathroom on time if you need to. Sometimes, paying the extra few bucks and buy some peace of mind is the way to go, this way you don’t end up having to wake your neighbours up every time you have to use the washroom. One less thing to worry about!
#4 Exception to “no just in case” rule
I know I have told you in the past that going to the bathroom “just in case” is not a good strategy to work on your bladder capacity. However, when it comes to air travel where you may have to wait in line for security or other things, you can make exception to the rule. This is not the time to work on bladder capacity that day, you can work on it while you are in a more familiar environment. Emptying your bladder before security & boarding could be a good solution to avoid distress associated with bladder urgency while you are waiting in line and cannot use the washroom.
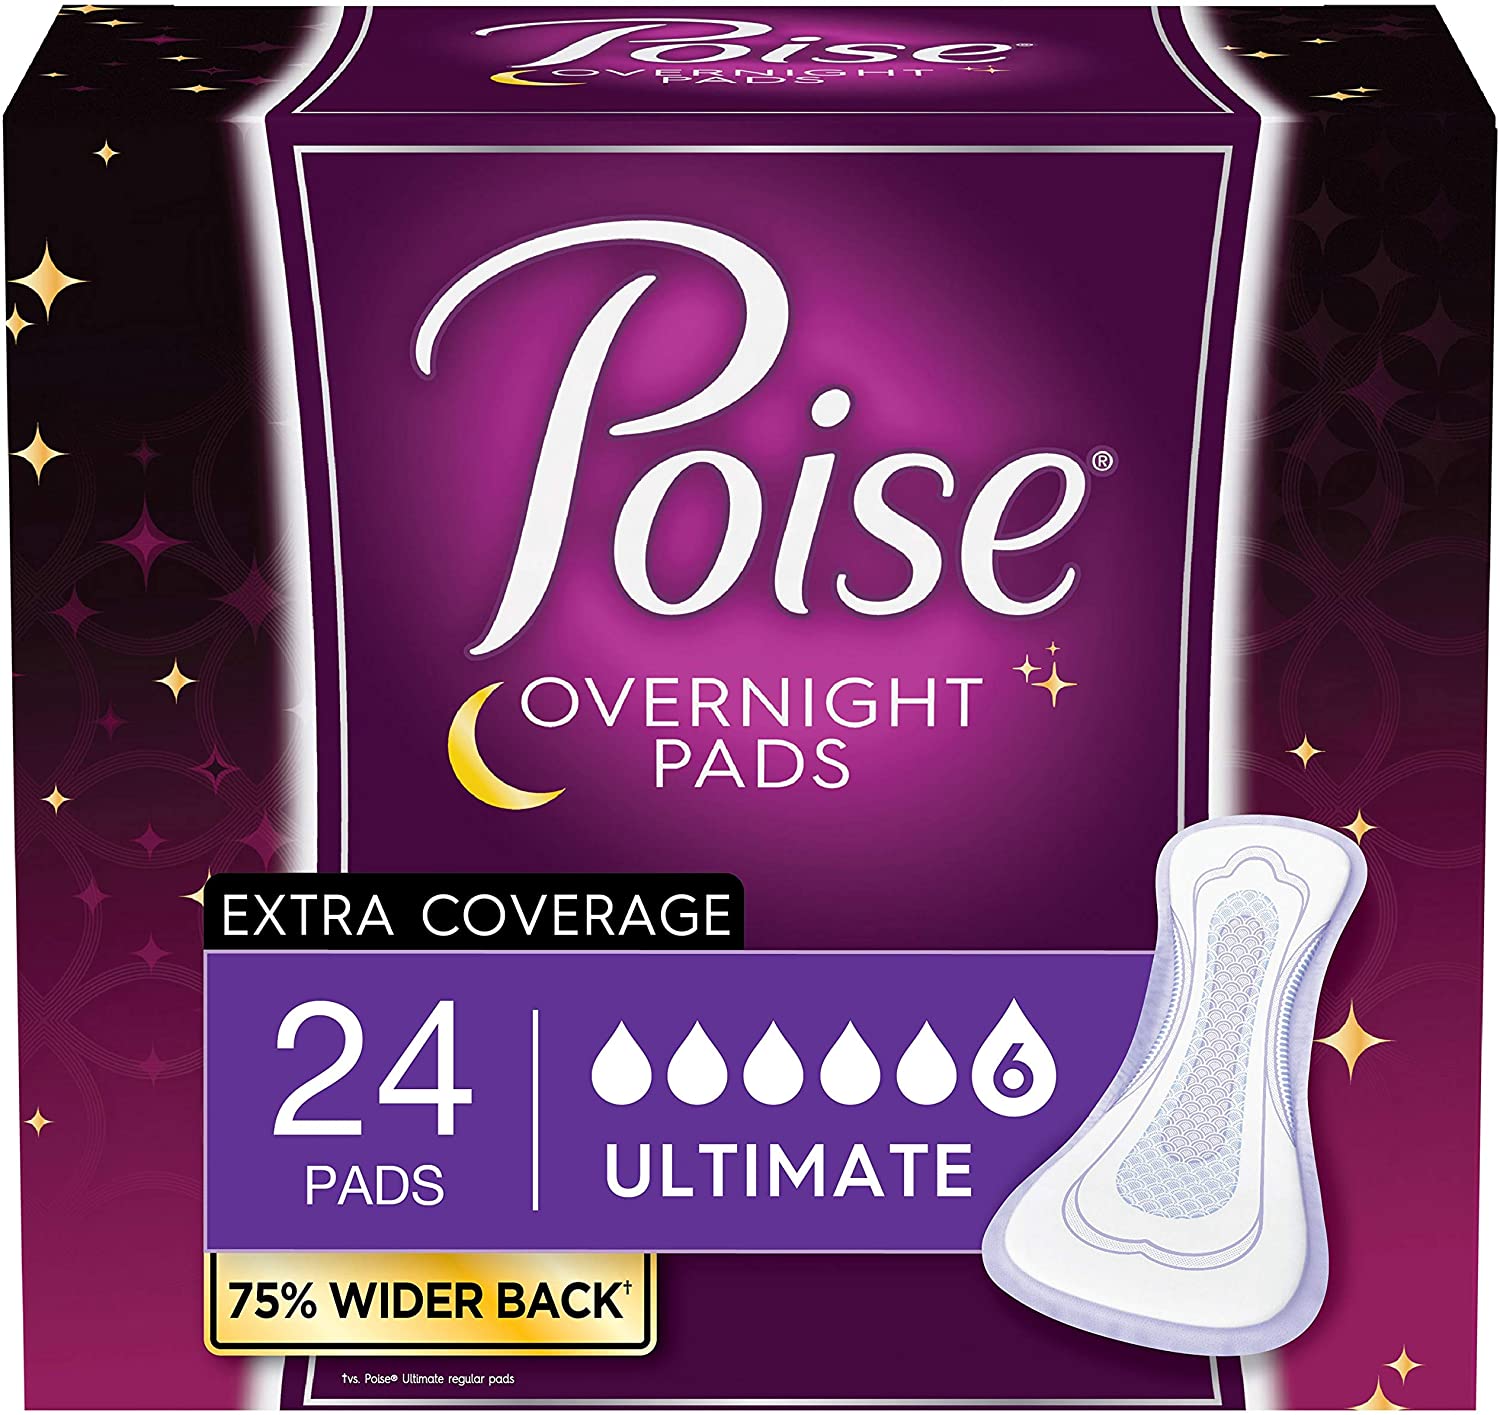
#5 Wear protection in case
There is nothing worse than feeling uncomfortable from urine leakage in your underwear and pants, especially in public when you can’t change right away. Wearing a liner or incontinence pad during your travels can be a good way to keep your mind at peace, knowing that you have protection just in case, and that you can change it if you have an accident. I highly discourage you from using menstrual pads for that purpose, as they do not breath well and may create some irritation around the vulva. Go for pads that are specifically made for incontinence (ex: Poise) and will be much more comfortable for you. Carry a few in your purse in case you need to change them over the course of the day, and maybe a change of underwear as well.
#6 Urgency: stop, breath, distract, kegels
If you are on the plane and have sudden bladder urgency but there is a line up to the bathroom, use the “stop and breath” technique. As you are waiting, try to distract yourself from your bladder by bringing your attention to your breath, and count up to 10 nice breaths in & out, feeling the air coming in through the nose, out through the mouth.
You can also use mental distraction: counting backward from 1000, mentally listing the American states, find the names of all the people you know whose names start with an “A”, or whichever silly task you may find. You can download games on your phone before taking off which you can use for distraction during the bathroom line up. The less you think of your bladder, the more control you will regain over the urgency. Your bladder literally feeds on your thoughts, it WANTS YOU to think of it. Do not let your bladder control your mind!
You can also do a few kegels (pelvic floor contraction / release) to distract yourself from the sensation of your bladder. Squeeze for a few seconds, release, squeeze, release… Do this 5-10 times. Normally, the urgency will decrease as you do this.
#7 Trust yourself
In a new environment, this is so easy to lose your confidence in your bladder control, as you may not know where the bathrooms are. Reminding yourself that there is a huge psychological component to bladder control, and the more thoughts you put into your bladder or are worried about it, the more you are giving material for your bladder to feed on and take control over your mind.
Finding a positive and empowering mantra that you can repeat mentally when you feel about to lose control may be a great way to work around this. Something around the lines of:
“I am calm, in control, and I know I can do this.”
Close your eyes and try to picture yourself in an environment that is familiar to you where you would be in control (ex: in your own house). Or picture yourself on the beach, on the top of a mountain, or any environment that brings calm & quiet into your mind. Take 10 breaths here.
Alright – that’s it for my little tips!!! I know you can do this!!
Happy holidays everyone and see you back in January 🙂
Sophie


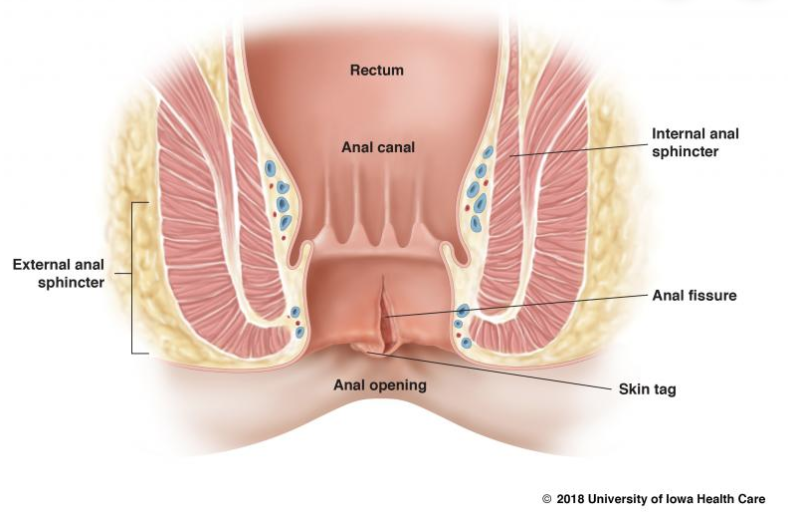 An anal fissure is a small cut in the lining of the anus. It can be caused by childbirth, constipation, straining, passing large stool, and anal sex.